
Introduction
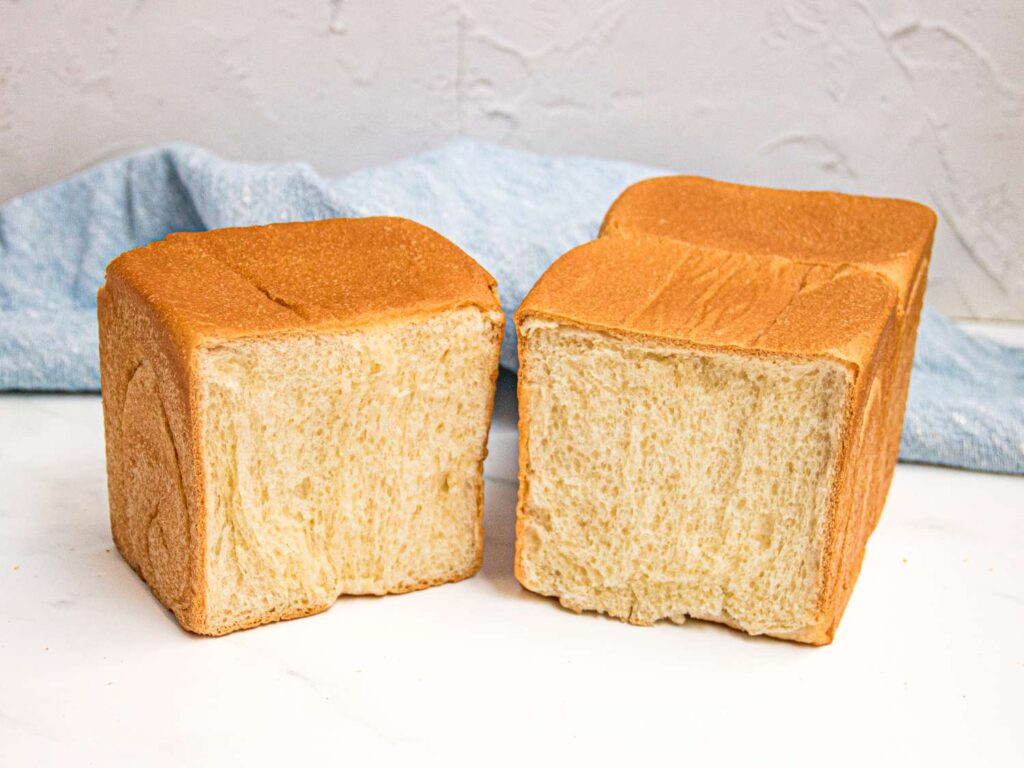
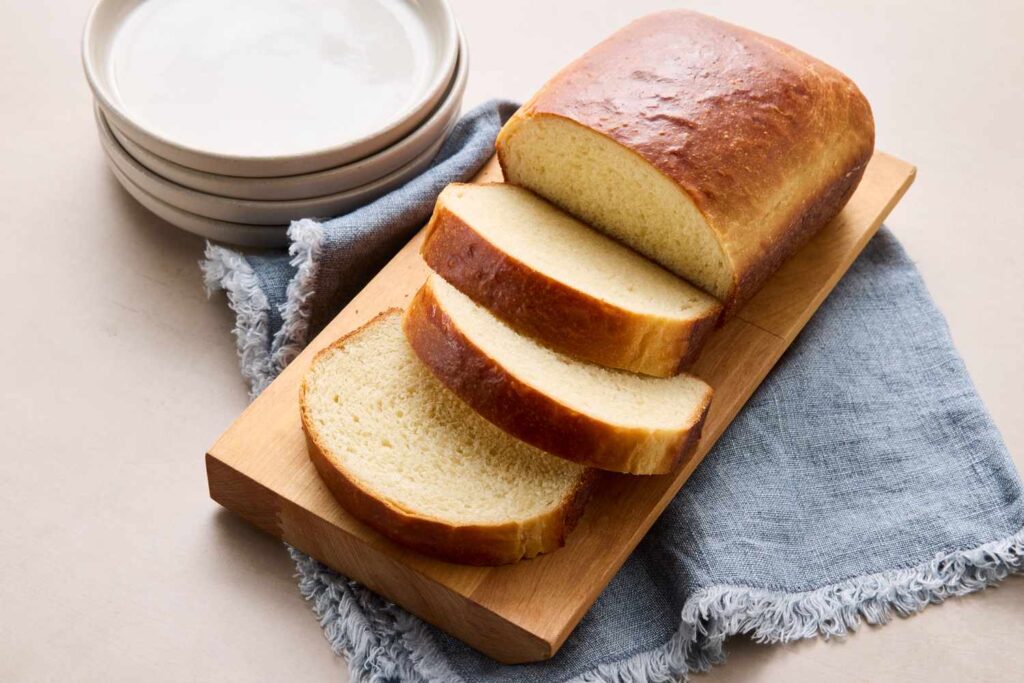
Have you ever tasted bread that is super soft, fluffy, and melts in your mouth? That’s what Shokupan, a popular Japanese milk bread, is like. It’s white bread, but much softer and lighter than the bread most people eat every day. In Japan, people use it for toast, sandwiches, or even eat it plain.
The best part? You can make this delicious bread at home with simple ingredients. This guide will show you an easy way to bake Japanese bread Shokupan step by step.
Ingredients – Japanese Bread Shokupan
Here are the basic ingredients you’ll need to make Shokupan. These can be found in most kitchens or local grocery stores.
For the Bread Dough:
- 2 ½ cups of bread flour (you can also use all-purpose flour)
- 2 tablespoons of sugar
- 1 teaspoon of salt
- 1 teaspoon of instant yeast
- ¾ cup of warm milk
- ¼ cup of warm water
- 2 tablespoons of butter (softened)
- 1 tablespoon of dry milk powder (optional, but makes it softer)
Step by Step Process – Japanese Bread Shokupan
Step 1: Mix the Dry Ingredients
In a large bowl, add flour, sugar, salt, dry milk powder, and yeast. Mix everything together with a spoon.
Step 2: Add the Wet Ingredients
Now pour in the warm milk and warm water. Stir everything until it forms a dough.
Step 3: Knead the Dough
Take the dough out of the bowl and place it on a clean surface. Use your hands to knead (press and fold) the dough for about 10 minutes. Add the soft butter and knead for another 5 to 7 minutes until the dough feels smooth and soft.
Step 4: First Rise
Put the dough into a greased bowl and cover it with a clean towel or plastic wrap. Let it rest in a warm place for 1 hour, or until it becomes double in size.
Step 5: Shape the Dough
Once the dough has risen, press it gently to remove air bubbles. Divide the dough into 2 equal parts. Roll each part into a smooth ball or rectangle shape.
Grease a loaf pan, then place the two dough pieces side by side in the pan.
Step 6: Second Rise
Cover the pan and let the dough rise again for 30–45 minutes, or until it reaches near the top of the pan.
Step 7: Bake the Bread
Preheat your oven to 350°F (175°C). Bake the bread for 25–30 minutes, or until the top turns golden brown.
Step 8: Cool the Bread
Take the bread out of the oven and let it cool in the pan for 5 minutes. Then remove it from the pan and place it on a wire rack to cool completely.
Nutritional Information :
| Nutrient | Amount per Slice |
|---|---|
| Calories | 130 kcal |
| Carbohydrates | 22g |
| Sugar | 3g |
| Protein | 4g |
| Fat | 3g |
| Fiber | 1g |
| Calcium | 4% of daily value |
| Iron | 6% of daily value |
Frequently Asked Questions
Q1: What makes Shokupan different from regular bread?
A: Shokupan is softer and fluffier than regular bread. It has a slightly sweet taste and is often made with milk and butter.
Q2: Can I use all-purpose flour instead of bread flour?
A: Yes, you can use all-purpose flour, but bread flour gives the bread a better texture and structure.
Q3: Why is my bread not soft?
A: If your bread turns out hard or dry, it could be because the dough was not kneaded enough, or it was overbaked. Be sure to follow the rising and baking times carefully.
Q4: How should I store Shokupan?
A: Store it in a plastic bag or airtight container at room temperature. It stays fresh for 2 to 3 days. You can also freeze it for longer use.
Q5: Can I add other flavors to Shokupan?
A: Yes! You can add raisins, chocolate chips, or even matcha (green tea powder) for fun variations.
Final Thoughts
Making Japanese Shokupan bread at home is a fun and rewarding experience. It takes some time and love, but the result is worth it. The bread is soft, fluffy, and perfect for breakfast, sandwiches, or snacks.
Even if this is your first time baking bread, don’t worry! Just follow these simple steps, and you’ll have a warm, homemade loaf in no time. Once you taste fresh Shokupan, you’ll never want to go back to store-bought bread again.