
Introduction
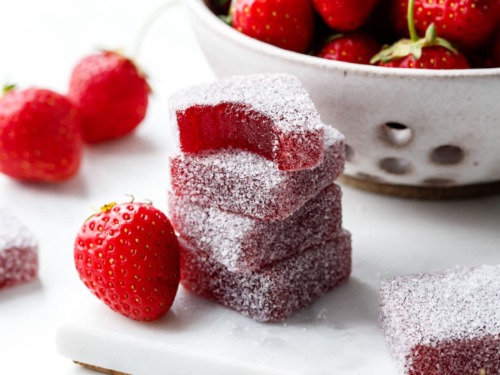
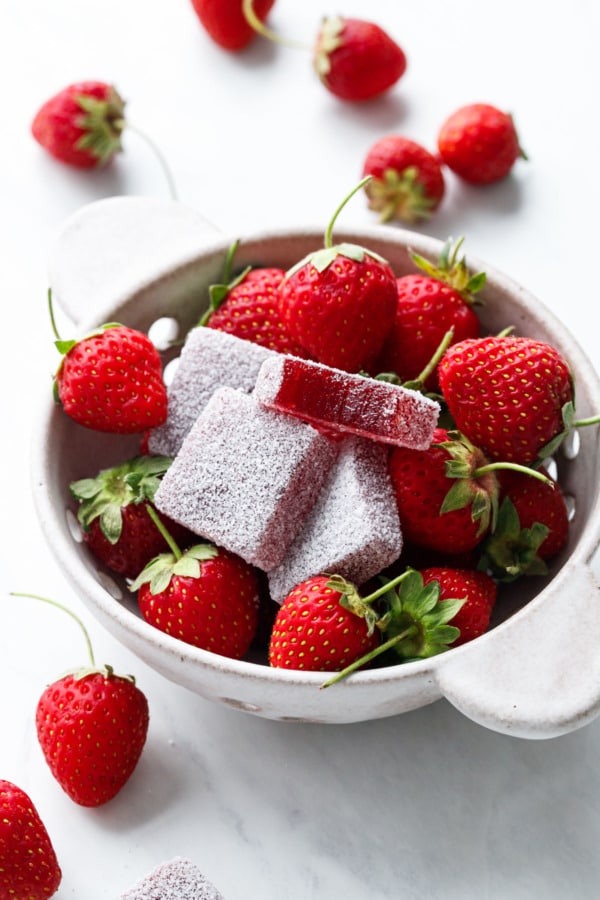
Do you love sweet, chewy treats but want something a little healthier than store-bought candy? Then you’ll love this easy homemade Strawberry Gummies Recipe! These gummies are made with fresh strawberries, a little honey (or any sweetener you like), and gelatin to give them that fun, jiggly texture.
This recipe is super simple and doesn’t require any special equipment, except maybe some silicone molds if you want cute shapes. But even a regular baking dish will work! Ready to make your own delicious strawberry gummies at home? Let’s get started!
Ingredients – Homemade Strawberry Gummies
Here’s what you’ll need to make your homemade strawberry gummies:
Basic Ingredients:
- 2 cups of fresh strawberries (you can also use frozen, just thaw them first)
- 2–3 tablespoons honey (adjust to taste or use maple syrup/agave if preferred)
- 1/2 cup water
- 3 tablespoons unflavored gelatin powder (for that chewy gummy texture)
- 1 teaspoon lemon juice (optional, but adds a nice zing)
Step by Step Process – Homemade Strawberry Gummies
Follow these easy steps, and you’ll have your own batch of yummy gummies in no time:
Step 1: Wash and Prepare the Strawberries
- Rinse your strawberries under clean water.
- Remove the green tops.
- Cut them in halves or quarters for easier blending.
Step 2: Blend the Strawberries
- Place the strawberries in a blender or food processor.
- Add the water and blend until smooth.
- If you don’t like seeds, you can pour the mixture through a fine mesh strainer to remove them.
Step 3: Heat the Strawberry Mixture
- Pour the strawberry puree into a small saucepan.
- Add honey (or your sweetener of choice) and lemon juice.
- Heat on low to medium heat for 2–3 minutes until it’s warm but not boiling.
- Stir gently while heating.
Step 4: Add the Gelatin
- Sprinkle the gelatin slowly into the warm strawberry mix while whisking continuously.
- Keep stirring until the gelatin is fully dissolved. This may take 2–3 minutes.
Step 5: Pour Into Molds
- Once the gelatin is fully mixed, remove the pan from the heat.
- Carefully pour the mixture into silicone molds or a baking dish lined with parchment paper.
- Use a dropper or spoon for neat pouring, especially for small molds.
Step 6: Chill the Gummies
- Place the molds in the refrigerator.
- Let them chill for at least 2 hours, or until the gummies are firm and set.
Step 7: Remove and Store
- Once set, gently pop the gummies out of the molds.
- If you used a baking dish, cut the mixture into small squares.
Nutritional Information
| Nutrient | Amount (Approx.) |
|---|---|
| Calories | 25 |
| Protein | 2 g |
| Carbohydrates | 5 g |
| Sugars | 4 g |
| Fat | 0 g |
| Fiber | 0.5 g |
| Vitamin C | 15% of Daily Value |
| Gelatin (Collagen) | 2–3 g |
Frequently Asked Questions
Q1: Can I use other fruits instead of strawberries?
Yes! You can use raspberries, blueberries, mango, or even peaches. Just blend and follow the same steps.
Q2: What if I don’t have silicone molds?
No problem! You can pour the mixture into a small baking dish. Once it sets, just cut it into little squares.
Q3: Are these gummies healthy?
Yes, they are healthier than store-bought gummies because they don’t contain artificial dyes, flavors, or extra sugar. Plus, gelatin is good for your skin, hair, and joints!
Q4: Can I make them vegan?
Traditional gelatin is made from animal products, so it’s not vegan. But you can try using agar agar, a plant-based alternative. Just follow the package instructions and adjust the recipe a little.
Q5: Can I freeze these gummies?
It’s not recommended. Freezing changes the texture and makes them too soft when thawed. It’s best to keep them in the fridge and eat within a week.
Q6: Can I make sour gummies?
Yes! Just add a little extra lemon juice or a pinch of citric acid to give your gummies a sour kick.
Final Thoughts
Making your own strawberry gummies at home is fun, easy, and so much better than buying them from the store. You get to control the ingredients, skip all the fake stuff, and enjoy a treat that’s both tasty and healthier.
Whether you’re making these for kids, as a snack for yourself, or even as a cute homemade gift, this recipe is a winner. And the best part? You can get creative with different fruits, shapes, and flavors!
So, the next time you’re craving something sweet, give these easy homemade strawberry gummies a try. Your taste buds (and your body) will thank you.