
Introduction
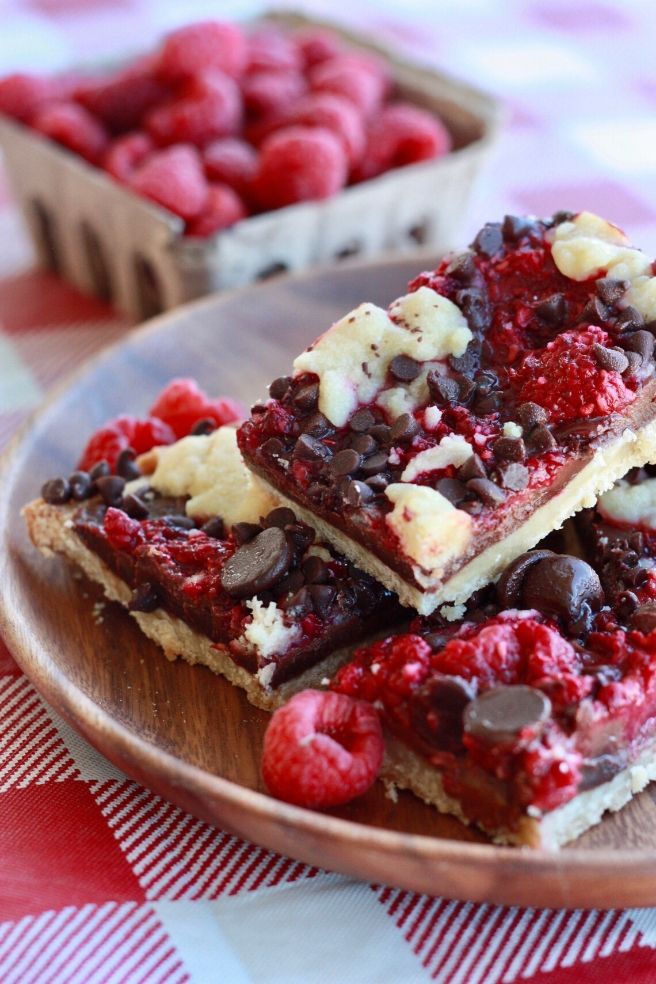
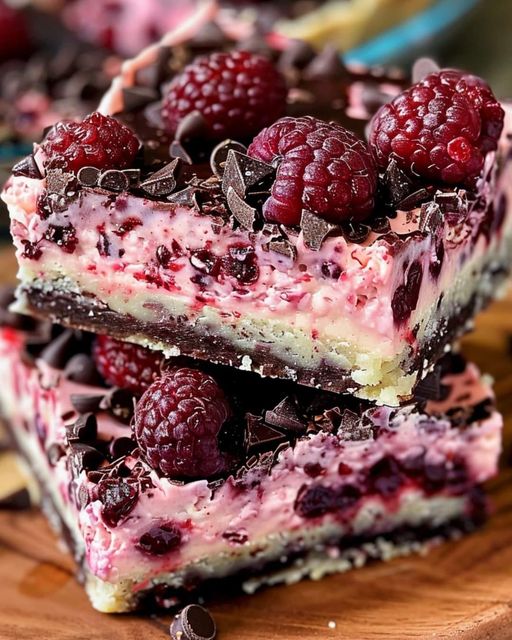
Do you love chocolate and berries? Then you’re going to fall in love with Dark Chocolate Raspberry Pie Bars! These sweet and slightly tart dessert bars are made with a buttery crust, a layer of fresh raspberries, and rich dark chocolate on top. They’re the perfect treat for family get-togethers, holiday dinners, or just when you feel like having something special.
What makes these bars even better? They’re super easy to make! With just a few basic steps and simple ingredients, you’ll have a delicious dessert that looks and tastes like it came from a fancy bakery. Let’s jump into the ingredients and steps so you can bake your own batch of these mouthwatering pie bars.
Ingredients – Dark Chocolate Raspberry Pie Bars
Here’s a list of what you’ll need to make Dark Chocolate Raspberry Pie Bars:
For the Crust:
- 1 cup (2 sticks) unsalted butter (softened)
- 1/2 cup white sugar
- 2 cups all-purpose flour
- 1/4 teaspoon salt
For the Raspberry Layer:
- 1 and 1/2 cups fresh or frozen raspberries
- 2 tablespoons sugar
- 1 tablespoon cornstarch
- 1 teaspoon lemon juice
For the Dark Chocolate Topping:
- 1 and 1/2 cups dark chocolate chips or chunks
- 1/2 cup heavy cream
Step by Step Process – Dark Chocolate Raspberry Pie Bars
Step 1: Preheat the Oven
Set your oven to 350°F (175°C). This gets it ready while you prepare the crust.
Step 2: Make the Crust
- In a large bowl, mix the softened butter and sugar until smooth.
- Add the flour and salt. Mix until the dough is crumbly but sticks together when pressed.
- Press the dough evenly into the bottom of a greased or parchment-lined 9×9 inch baking pan.
- Bake the crust for 18–20 minutes, or until the edges are just starting to turn golden.
- Remove it from the oven and let it cool for a few minutes.
Step 3: Prepare the Raspberry Filling
- In a small bowl, mix the raspberries, sugar, cornstarch, and lemon juice.
- Gently mash some of the berries to release their juices, but keep a few whole for texture.
Step 4: Spread Raspberry Mixture
- Once the crust is slightly cooled, spread the raspberry mixture evenly over the crust.
Step 5: Make the Dark Chocolate Ganache
- In a small pot, heat the heavy cream until it’s hot but not boiling.
- Remove it from the heat and pour it over the dark chocolate chips in a bowl.
- Let it sit for 1 minute, then stir until the chocolate is completely melted and smooth.
Step 6: Pour Chocolate Over Raspberries
- Carefully pour the dark chocolate ganache over the raspberry layer.
- Use a spoon or spatula to spread it evenly.
Step 7: Chill the Bars
- Place the pan in the refrigerator for at least 2–3 hours, or until the chocolate sets.
- Once firm, remove the bars from the pan and cut into squares or rectangles.
Nutritional Information
| Nutrient | Amount (per bar) |
|---|---|
| Calories | 280–320 kcal |
| Total Fat | 18g |
| Saturated Fat | 10g |
| Carbohydrates | 35g |
| Sugars | 20g |
| Fiber | 3g |
| Protein | 3g |
| Sodium | 60mg |
| Vitamin C (from berries) | 6% of Daily Value |
| Iron (from dark chocolate) | 10% of Daily Value |
Frequently Asked Questions
1. Can I use frozen raspberries?
Yes! Frozen raspberries work great. Just make sure to thaw them first and drain any extra water so the bars don’t get soggy.
2. What kind of dark chocolate should I use?
Use chocolate that’s at least 60% cocoa for that rich, deep flavor. You can use chips or break up a chocolate bar.
3. Can I make these bars ahead of time?
Absolutely! You can make them a day before and store them in the fridge. They actually taste even better the next day.
4. How do I store leftovers?
Store the bars in an airtight container in the refrigerator for up to 5 days. You can also freeze them for up to 1 month.
5. Can I add nuts or other toppings?
Yes! Chopped walnuts or almonds would add a nice crunch. You can also sprinkle a little sea salt on top for a fancy twist.
Final Thoughts
Dark Chocolate Raspberry Pie Bars are more than just a dessert—they’re a little slice of joy! The mix of buttery crust, fruity raspberry layer, and smooth dark chocolate makes each bite special. They’re fancy enough for a party but simple enough for a weeknight treat.
Whether you’re making these for a family gathering, baking with kids, or just treating yourself, this recipe is a winner. And the best part? You don’t need a lot of skill or time to pull it off. Just follow the steps, be a little patient while it chills, and enjoy the sweet rewards. So go ahead, grab your mixing bowls, and get ready to make a dessert that everyone will talk about!