


Introduction
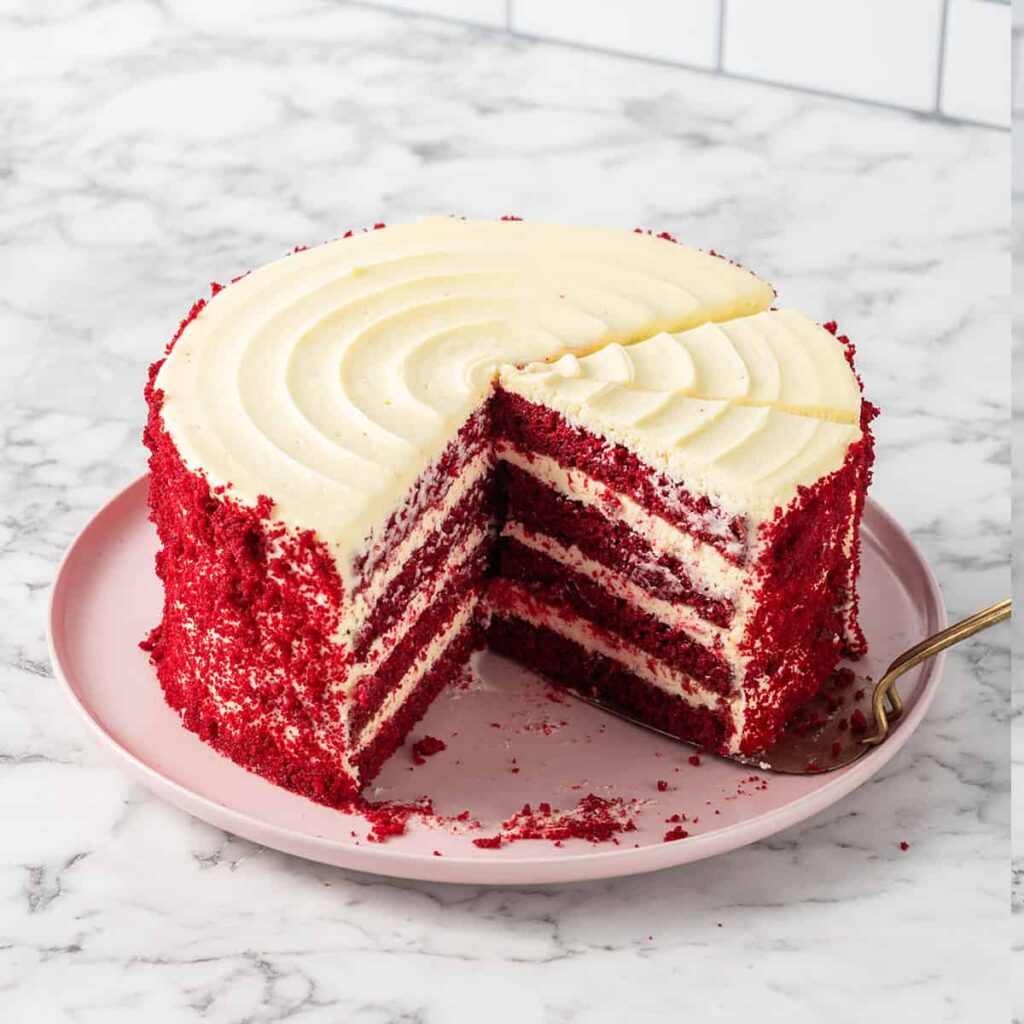
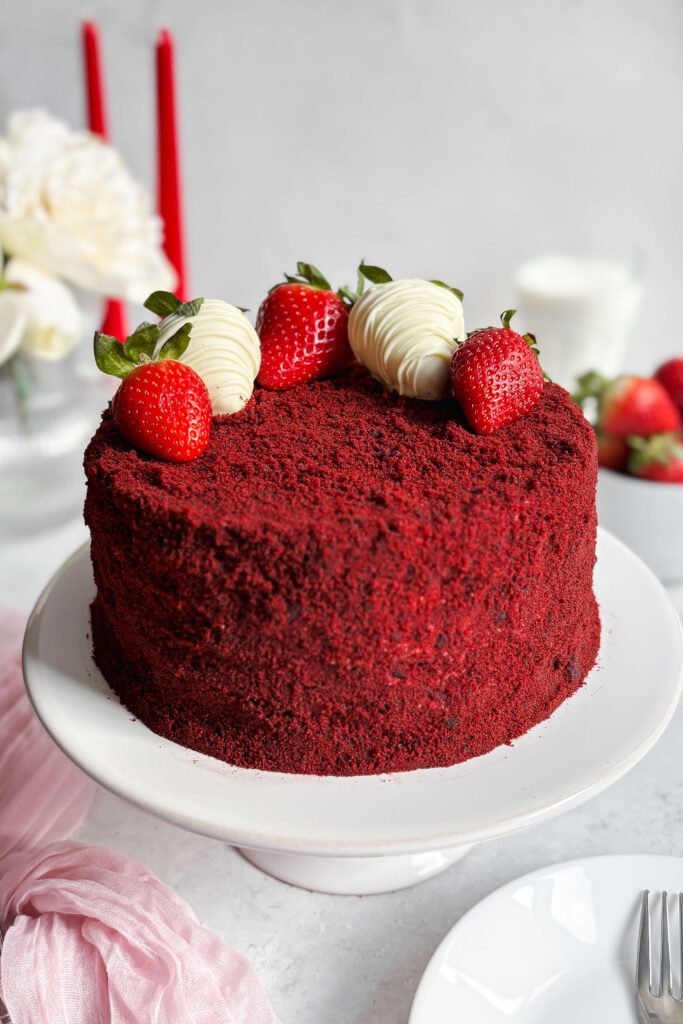
Red velvet cake is a classic dessert that many people love. It is soft, moist, and has a beautiful red color that makes it perfect for special occasions like birthdays, holidays, or just a sweet treat any day.
The cake is usually paired with cream cheese frosting, which adds a creamy and slightly tangy taste. Making red velvet cake at home might sound tricky, but it’s actually quite simple and fun! This recipe will guide you step by step so you can bake a delicious homemade red velvet cake that everyone will enjoy.
Ingredients – Red Velvet Cake
Before we start baking, let’s gather all the ingredients you will need:
- 2 ½ cups all-purpose flour
- 1 ½ cups granulated sugar
- 1 teaspoon baking soda
- 1 teaspoon salt
- 1 teaspoon cocoa powder (unsweetened)
- 1 ½ cups vegetable oil
- 1 cup buttermilk (room temperature)
- 2 large eggs (room temperature)
- 2 tablespoons red food coloring
- 1 teaspoon vanilla extract
- 1 teaspoon white vinegar
For the Cream Cheese Frosting:
- 8 oz cream cheese (softened)
- ½ cup unsalted butter (softened)
- 4 cups powdered sugar
- 1 teaspoon vanilla extract

Step by Step Process – Red Velvet Cake
Step 1: Prepare Your Oven and Pans
First, preheat your oven to 350°F (175°C). Grease and flour two 9-inch round cake pans. You can also line the pans with parchment paper for easier removal.
Step 2: Mix the Dry Ingredients
In a large bowl, sift together the flour, sugar, baking soda, salt, and cocoa powder. Mixing the dry ingredients well ensures your cake will have an even texture.
Step 3: Combine the Wet Ingredients
In a separate bowl, whisk together the vegetable oil, buttermilk, eggs, red food coloring, vanilla extract, and white vinegar until smooth.
Step 4: Mix Wet and Dry Ingredients
Slowly add the wet ingredients into the dry ingredients. Use a mixer or a whisk to mix everything together until the batter is smooth and well combined. Don’t overmix, or the cake might become tough.
Step 5: Pour Batter into Pans
Evenly divide the batter between the two prepared cake pans. Use a spatula to smooth the tops.
Step 6: Bake the Cake
Place the pans in the preheated oven. Bake for 25-30 minutes, or until a toothpick inserted into the center of the cakes comes out clean.
Step 7: Cool the Cakes
Remove the pans from the oven and let the cakes cool in the pans for about 10 minutes. Then, carefully take the cakes out of the pans and transfer them to a wire rack to cool completely.
Step 8: Make the Cream Cheese Frosting
While the cakes are cooling, prepare the frosting. Beat the softened cream cheese and butter together until smooth and creamy. Gradually add the powdered sugar and vanilla extract, beating until the frosting is light and fluffy.
Step 9: Assemble the Cake
Once the cakes are completely cool, place one layer on a serving plate. Spread a generous amount of frosting on top. Then place the second cake layer on top and frost the entire outside of the cake evenly.
Step 10: Chill and Serve
For best results, chill the cake in the refrigerator for about an hour before serving. This helps the frosting set and the flavors to blend. Now, your homemade red velvet cake is ready to enjoy!
Nutritional Information
| Nutrient | Amount per Serving (1 slice) |
|---|---|
| Calories | 350 |
| Total Fat | 20g |
| Saturated Fat | 7g |
| Cholesterol | 60mg |
| Sodium | 300mg |
| Total Carbohydrate | 40g |
| Dietary Fiber | 1g |
| Sugars | 30g |
| Protein | 4g |

Frequently Asked Questions
Q1: Can I use regular milk instead of buttermilk?
Yes, buttermilk adds a slight tang and helps make the cake tender. If you don’t have buttermilk, mix 1 cup of milk with 1 tablespoon of lemon juice or vinegar. Let it sit for 5 minutes before using.
Q2: What if I don’t have red food coloring?
The red color is what makes this cake special. You can buy red food coloring in liquid, gel, or powder form. If you prefer natural options, beet juice can be used, but the color will be lighter.
Q3: Can I make this cake in one pan?
It’s better to bake the batter in two pans for even cooking. But if you only have one pan, bake longer and check doneness often.
Q4: How should I store the cake?
Store the cake covered in the refrigerator. It will last 3-4 days. You can bring it to room temperature before serving.
Q5: Can I freeze the cake?
Yes! Wrap the cake tightly in plastic wrap and then foil. Freeze for up to 2 months. Thaw in the fridge overnight before frosting or serving.
Final Thoughts
Making homemade red velvet cake is easier than it looks. With simple ingredients and clear steps, you can bake a beautiful and tasty cake that will impress your family and friends. The moist texture and rich cream cheese frosting make this cake a favorite for any celebration.
Give this recipe a try and enjoy the fun of baking from scratch. Whether it’s for a party or a quiet afternoon treat, homemade red velvet cake is sure to bring smiles and sweet moments.


